DIY Fabric Scrap Christmas Ornaments: A Simple No-Sew Guide
Turn a bag of fabric offcuts into folded, glued Christmas ornaments — no machine, no pattern, no sewing...

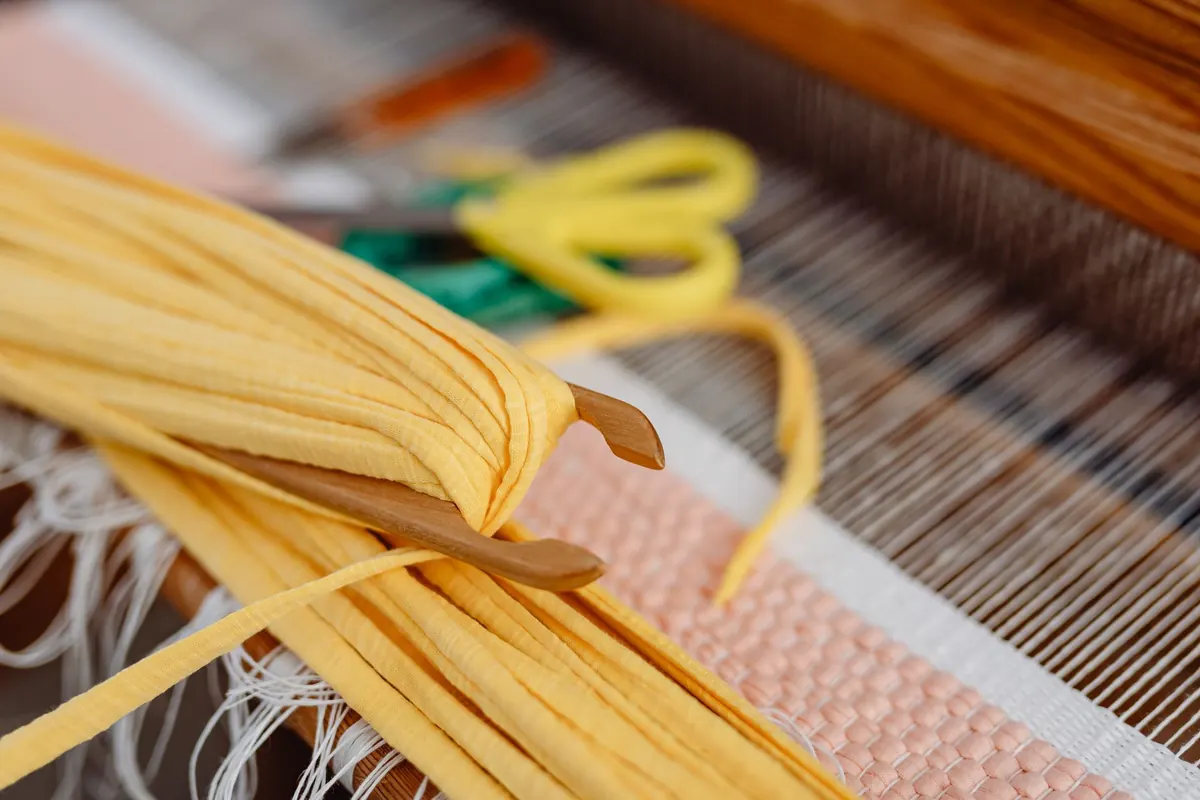
The first wall hanging is rarely the one that ends up in the hallway. It is the one that teaches you how a warp behaves, why the edges pull inward, and how much beating is too much. That knowledge is worth having before you spend money on beautiful yarn.
A frame loom is the most honest way to learn. It asks for patience rather than equipment. The order below is the one that saves the most trouble: set up the frame properly, check the tension with your hands, learn four weaves that cover almost every beginner hanging, then finish the piece so it survives being hung. Work through it once and the second hanging will take half the time.
Most beginners choose the yarn first and only then discover the loom cannot hold it. Reverse that order.
A simple wooden frame with notches or small nails along the top and bottom is enough. Something around 30 by 40 cm keeps a first project from turning into a marathon. If your frame has a heddle bar, use it, because it makes lifting alternate warp threads quicker. Plenty of good hangings are also woven on a bare frame with a shed stick and a bit of patience.
For the warp, choose something strong and non-stretchy: cotton string, seine twine, or a dedicated rug warp. Save the soft, fuzzy and single-ply yarns for the weft. Wool stretches under tension, and a stretching warp will fight you all afternoon.
Tie every end with the same knot and the same tension, either a lark's head around the frame or a clove hitch. Consistency here saves an hour later.
Pluck the warp like a guitar string, midway along the frame. You want a short, firm note, the same pitch on every end. Loose ends buzz; over-tight ones sound thin and high.
Press two fingers across the warp. Every thread should give the same amount. If one stands proud while its neighbour sags, retie it now. Fixing a single end takes a minute. Fighting an uneven warp takes the whole project.
Two things to watch for:
Pulling the weft hard draws the sides inward and pushes the middle out. Lay the weft in a shallow arc, then beat it into place. Your selvedges are the honest report on how you are handling the yarn.
You do not need twenty techniques for a first hanging. These four, in combination, will carry a whole piece.
Beat upward, against the previous row, with a fork or tapestry beater, and do it with the same pressure every time. Rows beaten hard at the start and softly at the end are the most common reason a hanging looks lopsided when it comes off the loom.
Sketch the hanging on paper first, at the same proportions as the warp, and shade where the texture changes. It takes five minutes and prevents the middle-of-the-piece moment where everything quietly becomes stripes.
A few practical moves:
Turn the loom around every few rows and look at the back. Long floats and loose tails will show through once the piece is off the frame and hanging in daylight.
The last twenty minutes decide whether a piece looks handmade or merely homemade.
To hang it, sew or knot the top warp ends around a dowel slightly wider than the piece, then tie a cord to both ends of the dowel so it hangs level. If the weaving feels floppy, stitch it to a linen backing before mounting. It also keeps the fringe from curling over time.
Keep the first one. In six months you will see exactly which habit to fix, and that is more useful than any pattern you could buy.
Turn a bag of fabric offcuts into folded, glued Christmas ornaments — no machine, no pattern, no sewing...
A practical, season-by-season checklist for local craft fairs, covering how much to make, what to pack,...
Tension problems show up as tight chains, aching hands, and wobbly rows. Learn five common crochet tension...