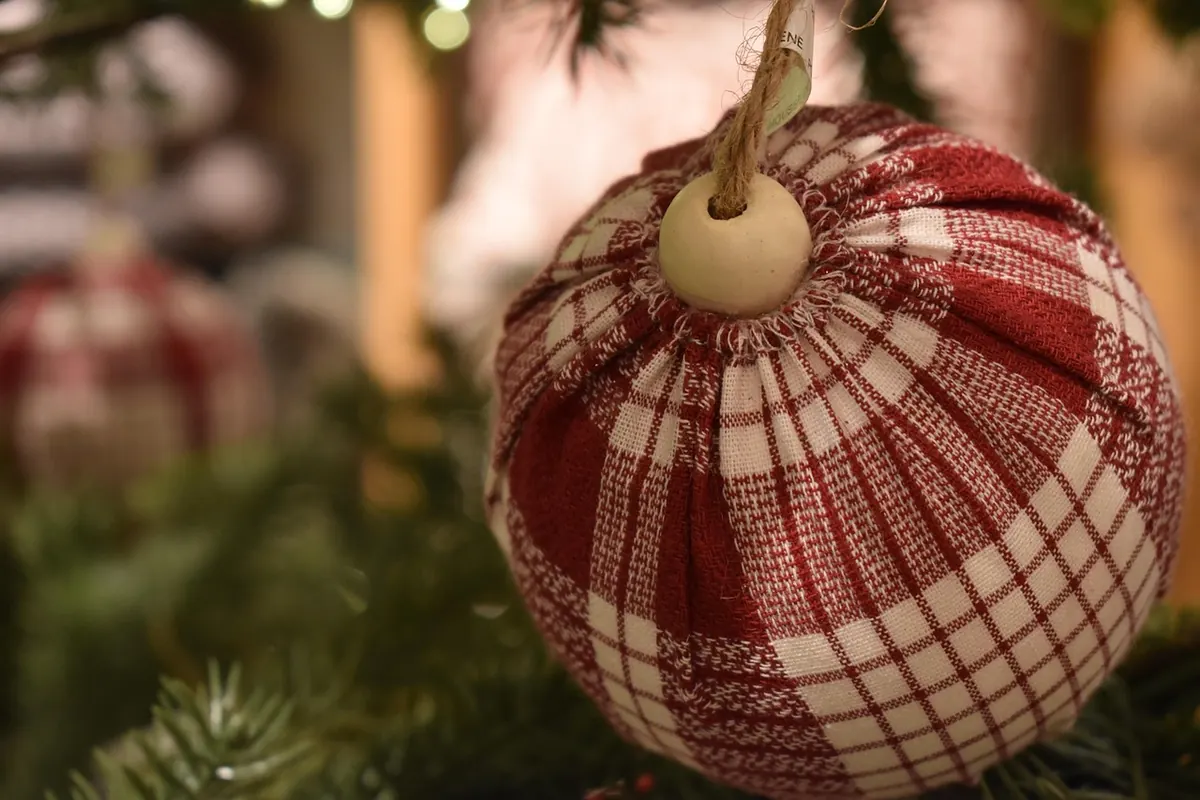
DIY Fabric Scrap Christmas Ornaments: A Simple No-Sew Guide
Turn a bag of fabric offcuts into folded, glued Christmas ornaments — no machine, no pattern, no sewing...

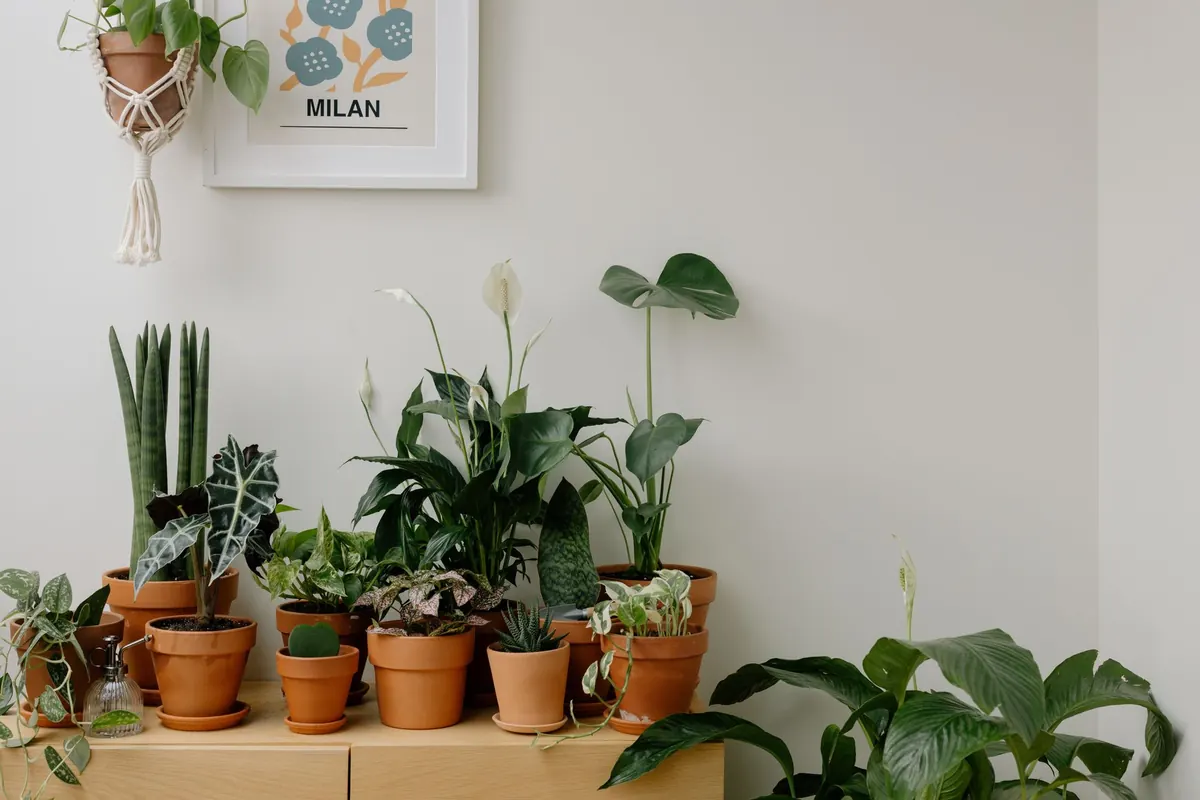
A macramé plant hanger can look like it came from a specialty shop, but the structure underneath is usually modest: a ring, a handful of cords, and one knot repeated in a shifting rhythm. You do not need a printed pattern with arrows, abbreviations, and a diagram that assumes you already know what a mounting knot is. You need a pot, some cord, and a way to check the fit as you go. This tutorial gives you that sequence. Use your own pot as the pattern, and the hanger will come out the right size for the plant you actually own.
For a pot roughly 12–15 cm across, cut four cords each about 3.5 m long. That gives you eight working strands once the cords are folded, which is enough for a hanger around 85–95 cm from ring to tail. If your pot is 18–20 cm across, add about 50 cm to each cord. It is better to overcut than to run short near the bottom knot; leftover cord can be trimmed, but a hanger that ends too soon cannot be stretched.
There is no need to learn a whole vocabulary before you begin. This hanger uses three moves: a lark’s head to attach cord to the ring, a square knot to build the net, and a gathering knot to close the bottom.
Fold a cord in half and push the folded loop through the ring from front to back. Bring the two loose ends through that loop and pull them down gently. The cord is now attached without a knot that can slide around the ring. Repeat with the remaining three cords, sliding them close together.
Hold the two middle strands of a four-strand group taut. These are the core. Cross the left working strand over the core, then bring the right working strand over the left tail, under the core, and up through the loop on the left. Pull evenly. That is one half knot. To complete a square knot, repeat the movement starting from the right side. If you always start from the same side, the column twists into a spiral; that is a useful variation, but for this net you want the straighter square knot.
Gather all the strands at the bottom. Cut a separate cord about 60 cm long. Make a loop at one end and lay it along the bundle, then wrap the long end tightly around the bundle several times, working downward. Pass the wrapping end through the loop, pull the top tail to draw the loop under the wraps, and trim. This creates a clean band that holds the strands together.
Attach all four cords to the ring with lark’s heads. You now have eight strands hanging down. Arrange them into four pairs, left to right, and think of them as pairs 1, 2, 3, and 4. Hang the ring on a hook or doorknob at about eye level. Working at eye level makes it much easier to keep the knots even, and it lets you see the net taking shape instead of guessing from above.
If the pairs feel loose and hard to track, tie a loose overhand knot in each pair about 10 cm below the ring. This is temporary. It keeps the strands organized while you start the first row, and you can untie it once the net has enough structure to hold itself.
The hanger is built in alternating rows. Each square knot borrows two neighbouring pairs: two strands become the core, and the other two become the working cords. You are not tying all eight strands into one knot at once.
Slide the pot into the net as you work. The rim should sit comfortably above the first row, and the base should rest just above where the gathering knot will go. If the pot slips through, add another row. If the net is too tight to seat the pot, undo the last row and space the knots a little farther apart. The pot is the pattern; the rows are just adjustments.
Once the net holds the pot at a comfortable height, gather all eight strands below the base. Tie the gathering knot about 5 cm below the pot, pulling it snug so the net cups the bottom without lifting the pot. Check the hanger from the side before you trim. A hanger that looks centred on the table can hang crooked once weight is added, so hang it up with the pot inside and adjust the strands before the final tightening.
Trim the tails to a length you like: a short 10–15 cm fringe is tidy, while a longer tail can be braided or left loose. If you braid, divide the eight strands into two groups of four and make a simple three-strand braid using four strands, or divide into three groups and braid loosely. Finish with an overhand knot and trim the ends evenly.
Keep a short note of the cord length and the number of rows that worked for your pot. The second hanger will take less time because your hands will already know the rhythm of the square knot, and the third one can be made in a different cord colour or with a longer fringe. Start with a pot you like, cut generously, and let the net grow around it. The sequence stays the same; only the measurements change.
Photo: cottonbro studio / Pexels
Turn a bag of fabric offcuts into folded, glued Christmas ornaments — no machine, no pattern, no sewing...
A practical, season-by-season checklist for local craft fairs, covering how much to make, what to pack,...
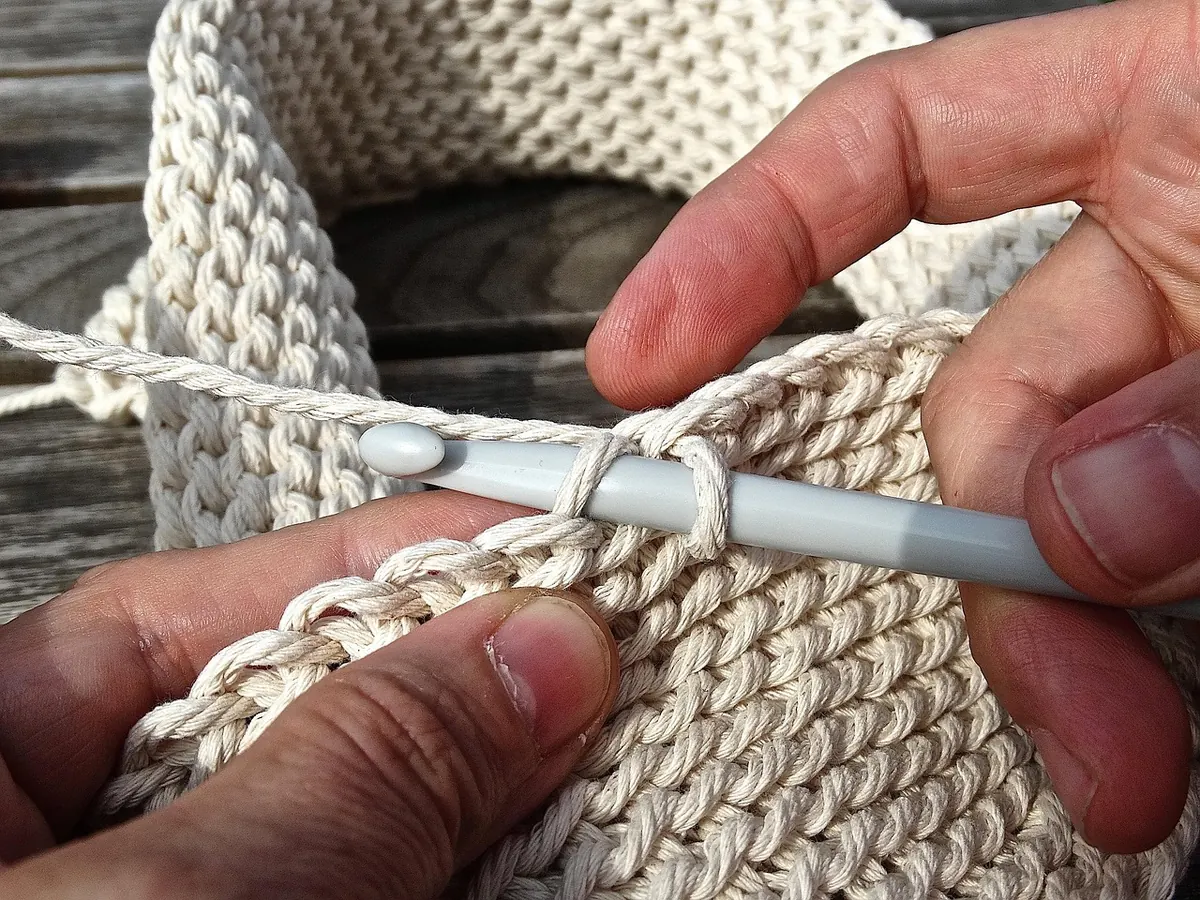
Tension problems show up as tight chains, aching hands, and wobbly rows. Learn five common crochet tension...